Part 1 of 2
At the beginning of the year 2022 there was a new version of CoffeeCup's Site Designer. It had some interesting new features that so far have not been explained in the Site Designer User Guide.

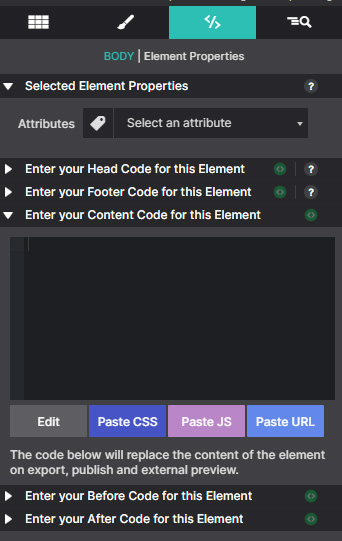
From before, we have got used to two input boxes on the Element pane, for code that is to be placed in the head and footer sections, typically for CSS and JS respectively. Now there are three more boxes, for content replacement, or code insertion before or after something. The illustration is showing the new 'Content Code' box open and the other ones closed. Click on the image to enlarge it.
If you enter something in any of these 5 boxes, you won't see any immediate effect on the canvas. You need to preview the page, in some cases (to be explained in 'Part 2') even upload the page to a server, to see the effect of your input.
Every page element will have its own set of the input boxes, and when using them, it is important to go as close as possible to where you want the inserted code or text to appear on the page. As an example: you have an outer container called .wrapper, and inside it there are several other containers, paragraphs or images. If you by accident selected the .wrapper's 'Content box' and wrote something in it, everything on the page would disappear, only whatever you placed in that Content box would be visible. So, if you meant to replace just the text in .paragraph-1, then use the corresponding Content box.
Below are some examples of use of the new boxes. You can also download the section below and study the coding locally.
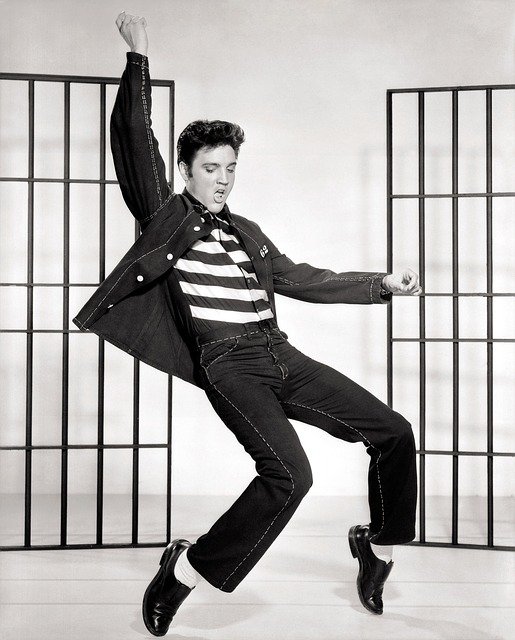
The image used in this component comes from Pixabay.


Do you recognize this guy?
The King of Rock'n Roll: Elvis Presley!
He was born on Jan. 8th 1935.
How old would he have been today?
Above the 'Content code' box has been used, once for just a bit of text, the other one for some JS. The styling of the two boxes was done in the Head code box, to let the styling not appear until the page is being previewed.
If you hover over the song title in preview, you'll see a little tool-tip with the year the song was recorded. The HTML code for that has been put partly in the 'Before' and partly in the 'After' box along with the rest of the sentence.
The last example is a common copyright statement used in page footers. After the two first words the 'After' box was utilised for the JS script that fetches the years, then the rest of the words were added as a separate text element.
You could also try to use the 'HTML comment' tags; <!-- and --> on this paragraph. Select it, and pop the tags into the 'Before' and the 'After' box respectively, and then preview!